2025 Winter
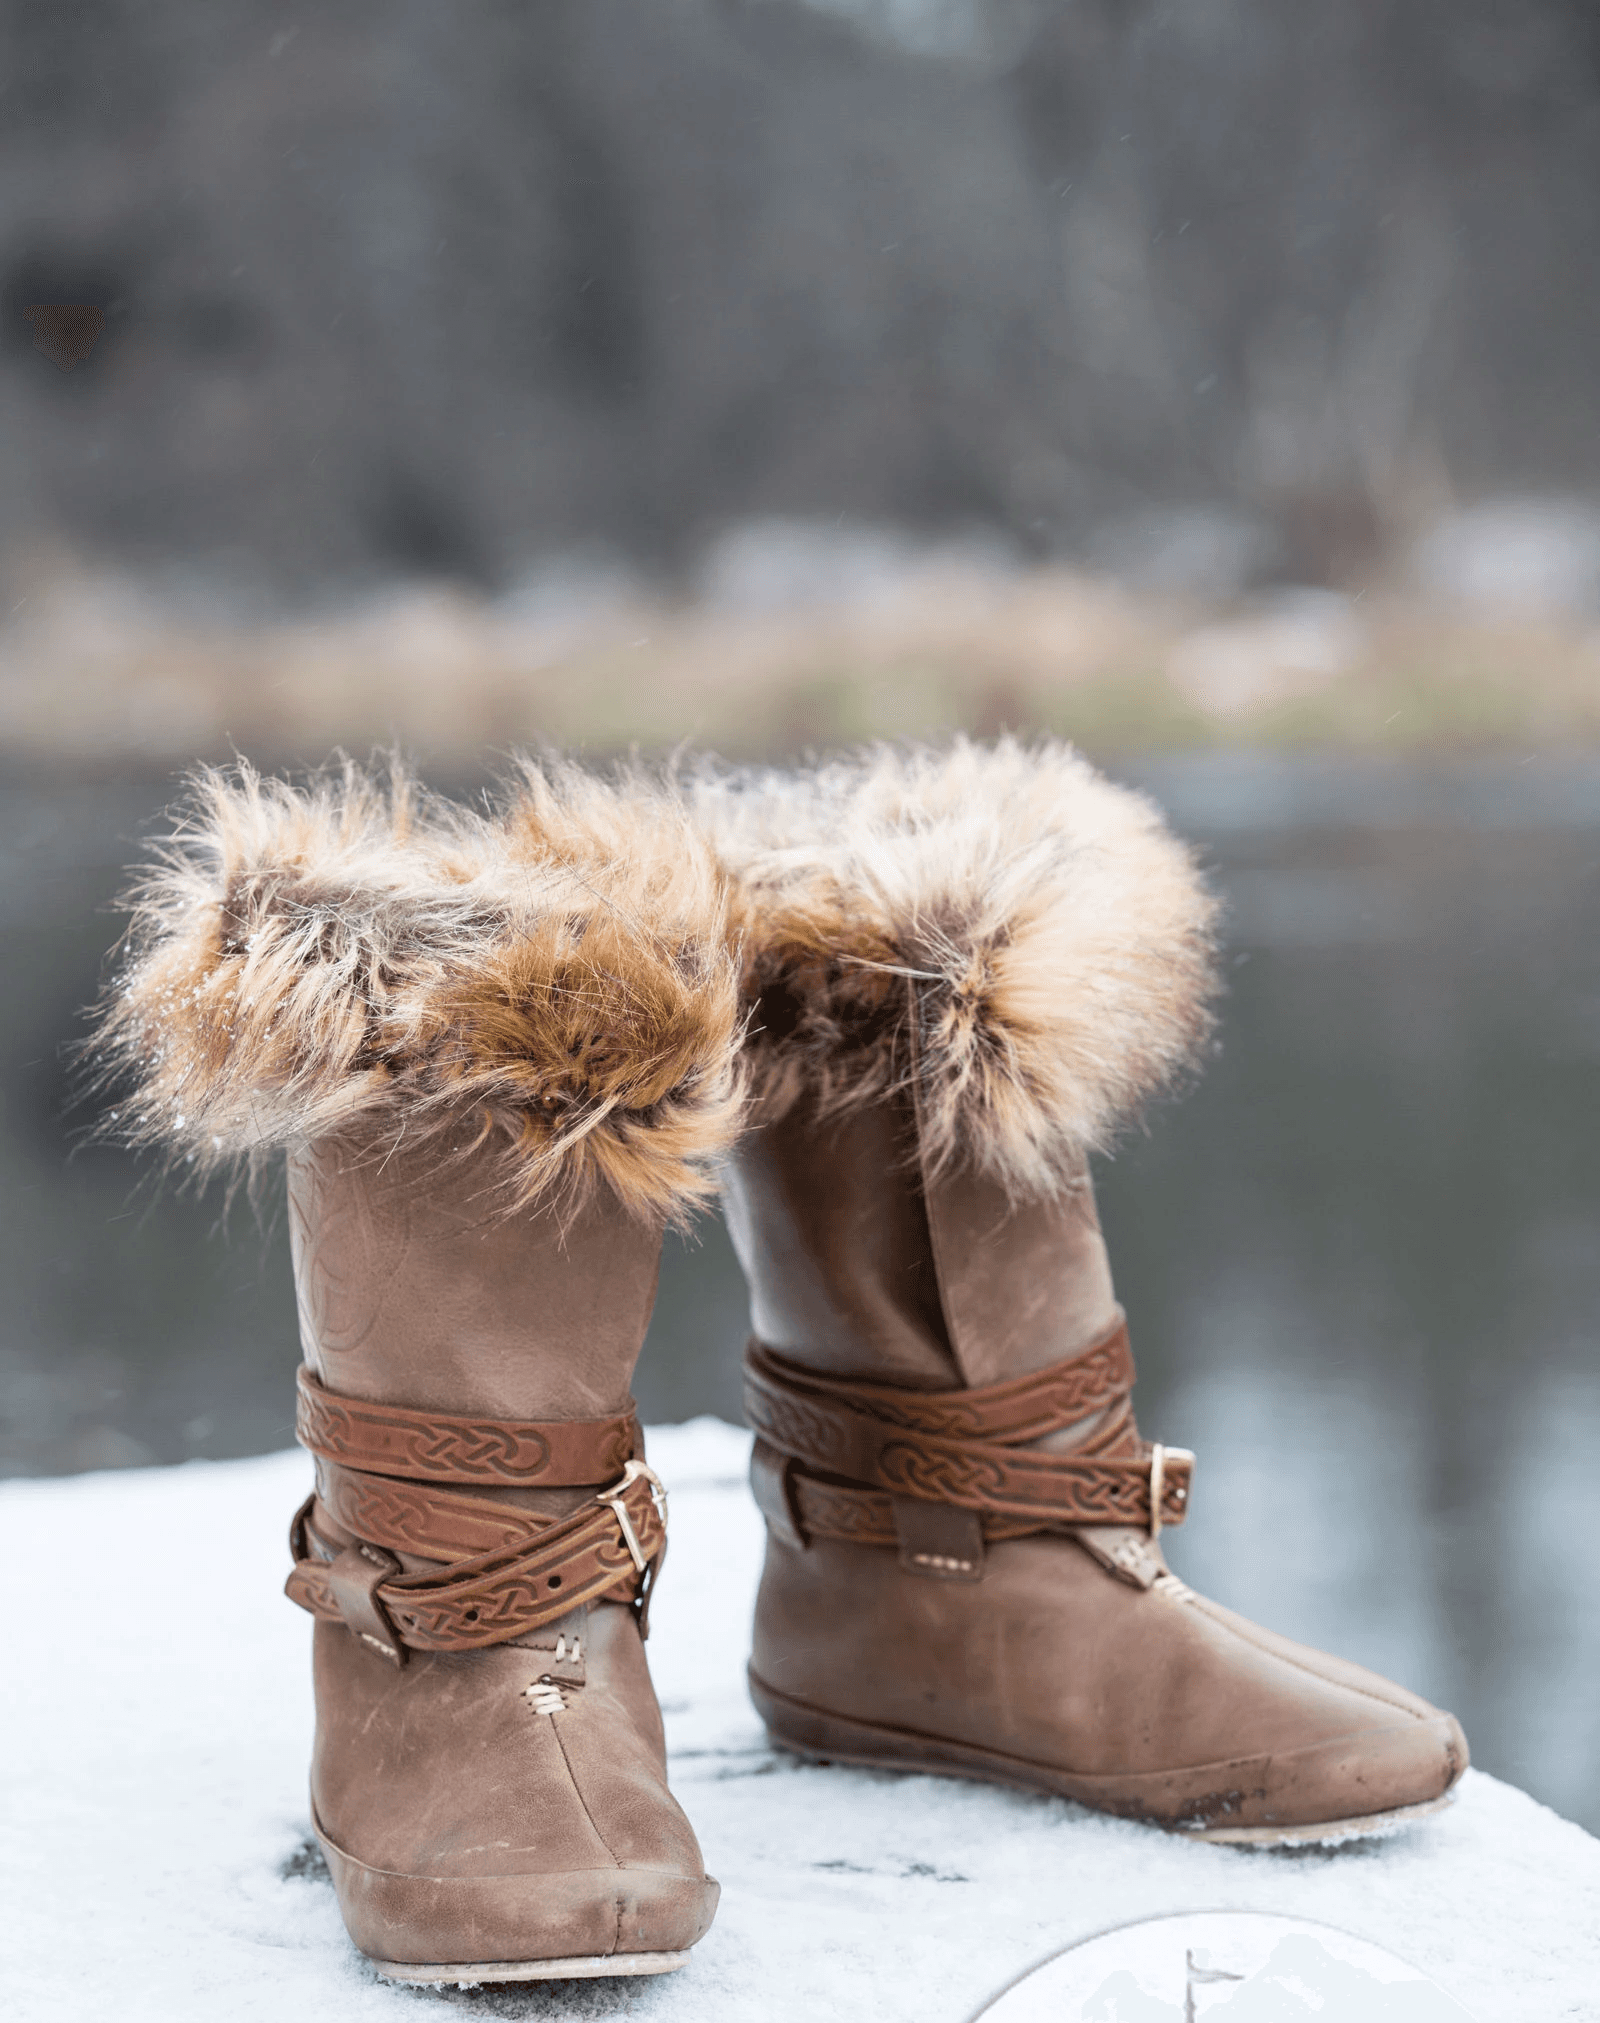
Fur Cowboy Boots w/ Spurs


Cowboy Boots with Urban Function
Over the course of 5 weeks taught by Sarah Guerin in Wintersession, this boot was constructed to depict a boot meant to look aesthetically like a authentic wild west cowboy boots with its reference to gambling and fur usage but also to the functionality of pockets and aesthetic value as a street shoe.

Drafting
Measurements, Inspiration, Patterns

Clicking / Assembly
Clicking Patterns, Saddle Stitching, Crimping, Extra Patterns for Fur, Vamp

Lasting
Last Prep, Upper Prep

Finishing
Shank, Cork Filling, Wooden Pegging, Heel, Refining, Oil / Shine, Insoles

Presentation Look
Visual for look outside of box

Post Modifying
Addition of Spurs
Drafting


Measurements
Foot Measurements and Shoe Heights were taken


Inspiration
Based on Nordic boots of winter, ideas were generated on how to reflect that on a normal cowboy boot that would've been used in the summer.


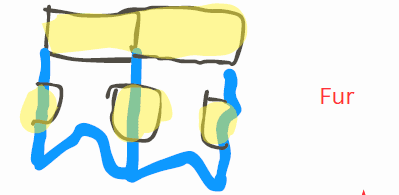
Patterns
Patterns were drawn out for the left, right, and fur patterns on top.


Clicking Pieces
Pieces of leather were clicked out, beading strips were skived.
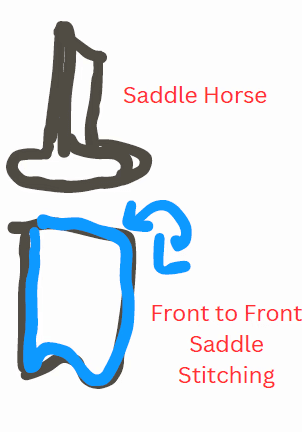


Saddle Stitching
Using a Saddle Horse and looped saddle stitching, the two pieces of leather were stitched together.

Crimping
Using a crimp board, the vamp cut out was stretched out to be added to the stitched leather pieces out.


Lasting

Last Prep
the sole was soaked in water and binded with rubber strips.

Upper Prep
The back was hoisted (nailed 1-1 3/4 back). Then the front was lasted, sides next, hoist was released, and the back was nailed down, the front and sides were re-nailed down, and finally a wiping strip was used to get rid of bubbles.


Drying Stage
Leather was let to dry to hold the shape.
Finishing

Bottom Preparation
The shoes were trimmed 1 in inside, shank was bent, and shank cover was skived.
Sole was soaked and the area around the featherline - heel was dyed.
These two portions were glued together and all the empty spaces were filled with cork.

Combining
wooden pegs were used to secure the construction together

Cleaning Up
the front area was trimmed (no more stitching for this project). the back sole was trimmed, the bottom was sanded and the heel was glued to the bottom and nailed together

Refining
The skiving knife was used to trim around the back edge to make a cleaner edge as well the middle side distances
Oil and Shine
Leather Lotion (2x)
Acrylic Paint
Pro Resist
Leather Lotion (2x)
Shoe Polish
Protecting Leather Lotion (2x)


